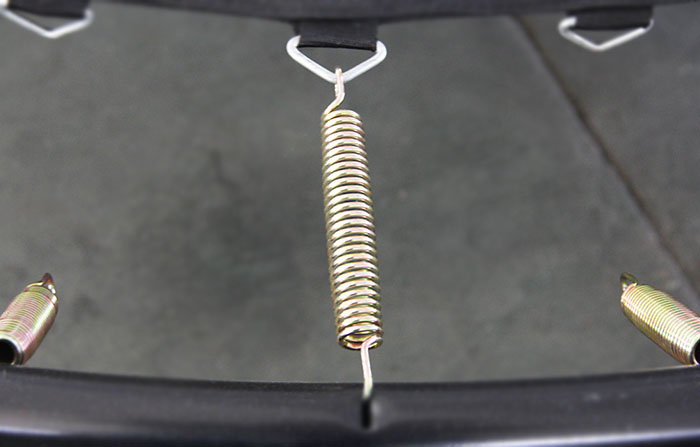
Have you heard of people using dish cloth to undo trampoline springs?
Or a pair of pliers?
And claiming that anything is possible if you put your mind to do it?
Yes, I also agree that anything is possible if you put your mind to do it, but using your hands or dish cloth or a pair of pliers to fix or remove springs can be a really difficult task.
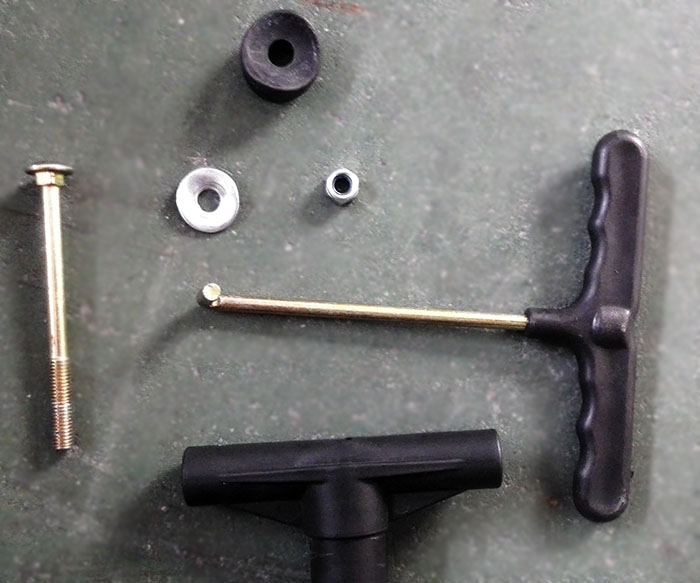
Trampoline manufacturers have therefore designed a special tool called a trampoline spring tool that will save your hands and make your work much easier.
It is T-hook with a soft rubber material at the end where users hold while installing the springs. A spring tool is therefore usually supplied with your trampoline when new and you can also purchase it from most trampoline suppliers.
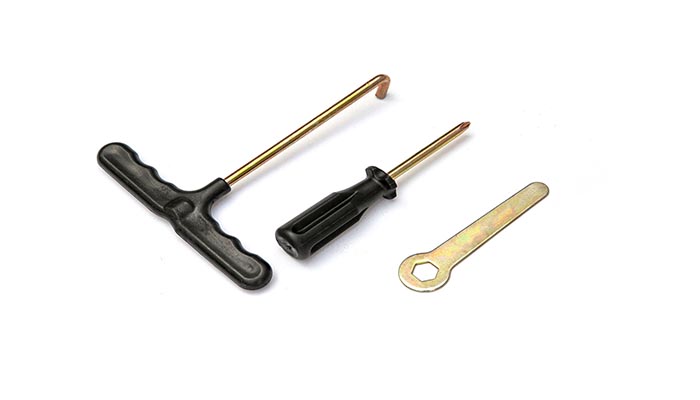
You don’t have to struggle trying to get springs onto the trampoline frame.
The spring tool helps you to slide springs onto the trampoline frame easily and quickly when installing your trampoline jumping mat.
Trampoline spring tool also helps you to remove the old springs and install the new ones.
How to use a spring tool to fix all trampoline springs
You have just bought a new trampoline and you are wondering how you are going to fix your trampoline springs?
Don’t worry, work is much easier if you have a spring tool.
And with the help of a few reasonably strong friends or family members, you can use a trampoline spring puller tool to install the springs and stretch the mat.
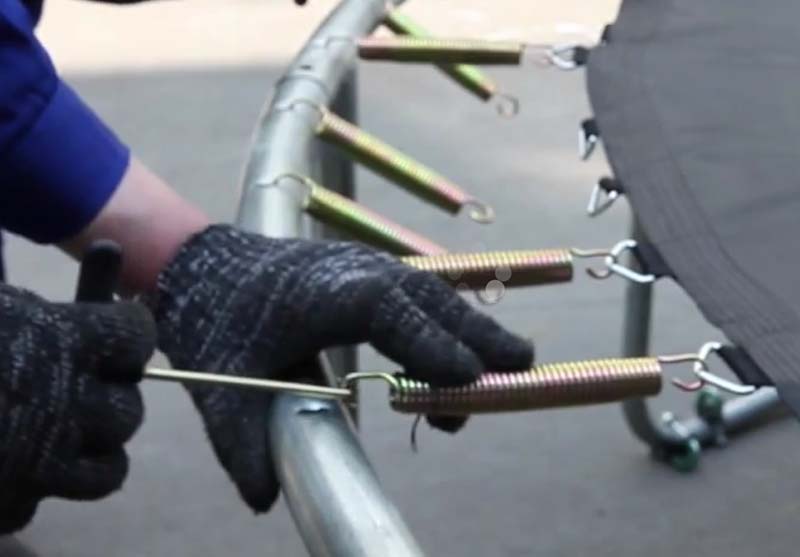
Hook all the springs on the frame of the trampoline before you lay out the mat.
Then hook the spring to the frame starting from the 12o’clock then 6, 3 and 9.
This is actually the best way to balance out the tension of the spring and the mat.
After All the four positions are done, hook only the springs at each joint. Once that is done, count every 5 to 6 springs and put one spring in it at a time.
Keep doing this until all the springs are in. if you install the springs in a strictly clockwise order, you will find the last ones very difficult to fix.
How to use a spring tool to replace damaged springs
After some time of usage, your trampoline springs may be worn out, broken and some might be missing.
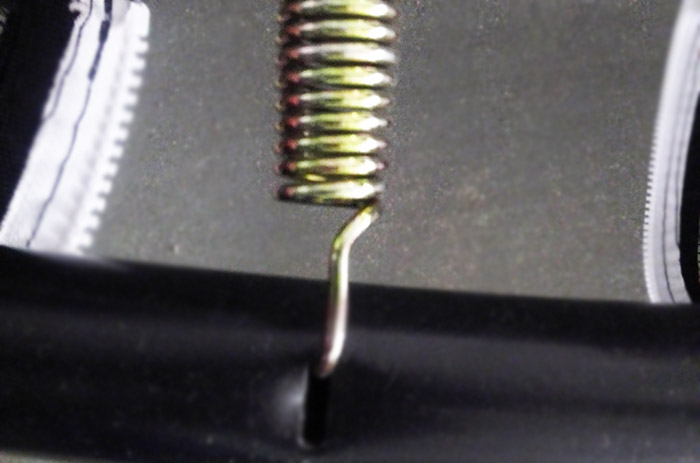
When installing a new spring, first hook the end of the spring with the most enclosed hook on the D-ring of the trampoline mat.
Then, using a spring loading tool, pull the hook on the opposite end of the spring to engage on the slot or hole on the trampoline frame.
To make this task much easier, remove each damaged spring and replace it with a new one, rather than removing all the old springs at once and then installing new ones.
Using a spring tool to remove all the trampoline springs
Winter season is almost starting and you are thinking of dismantling your trampoline so that you keep it away from the harsh weather?
You don’t have to worry because it will be an easy task with the help of a spring tool.
Start by removing the springs in a clock work fashion using a spring loading tool.
Use the spring tool to remove the spring by pulling by pushing it through the hook of the spring where it meets the trampoline frame and by pulling the spring tool towards you, it will disengage from the trampoline frame.
And then once the all the springs have been removed, the frame should easily come apart when you remove the attachments
Conclusion
It’s a smart idea to keep your spring tool in the trampoline tool kit so that you can easily find it when you want to remove a damaged spring and fix a new one.
I also recommend that you put all your spare springs in one box so that you can use them when there’s need because you can never use your trampoline when even a single spring is missing or damaged.
Replacing damaged springs using the trampoline spring tool not only saves your hands and time, it also saves you money over time because it prevents replacement of frame parts and other trampoline parts.

